Live Chat

Live Chat

Guide to Fitting Blinds

How to fit blinds

Fitting Blinds - General Information

We want you to get the perfect look by using our easy-to-follow guide to fitting blinds. This is a general fitting guide and may not apply to all types of blinds. Please scroll down for the different types and styles of blinds. We also have a quick reference guide to help you measure for your new blinds. 

In this Guide:


You Will Need

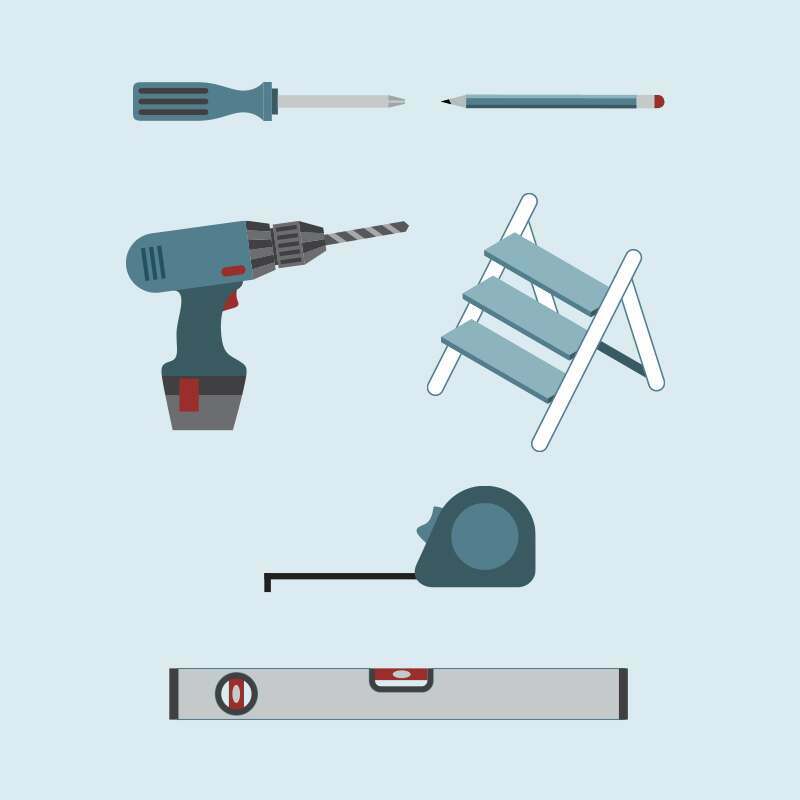
Tools required for fitting blinds

1. A metal tape measure.

2. A pencil (a pencil is better than a pen as you can remove the marks more easily) and paper.

3. A pair of steps.

4. An electric drill or a cordless drill (preferably with a hammer option).

5. A screw driver.

6. A spirit level. This is not essential but is helpful to check your track is being fitted level. Alternatively, you can always measure down from the ceiling or up from the floor or window sill to the holes as a double check, but this is not a guarantee as the ceiling may be slightly sloping. The most important thing is to make sure it visually looks right.


Where to Place Blind Brackets?

Measure Width of Window

You will have already decided when you measured for your blind whether you are fitting your new blind across the front of the window (exact) or inside the window opening (recess). Read more about the difference between recess and exact fit.

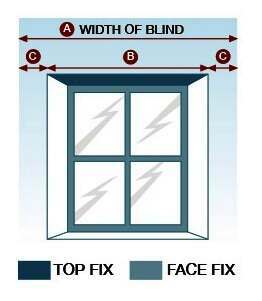
To locate the bracket position for a blind outside the recess you will need measurement C, which is simply the width of the blind A minus the width of the window B, divided by 2. Measure from the edge of the window the length C and use this to mark the wall on each side at the height you have chosen to fit your blind.

To fit inside the window recess decide whether to face fix the bracket to the window frame or top fix the bracket to the lintel. When measuring for bracket location ensure that obstructions such as window handles are taken into account.


Fitting Roller Blinds Back to top

Fitting Roller blind brackets

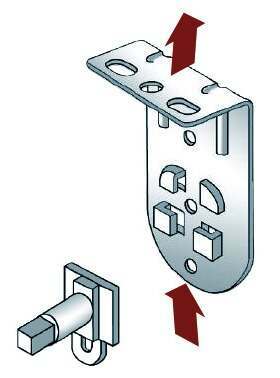
1. Slide the plastic pin upwards between the teeth of the bracket until it clicks into place

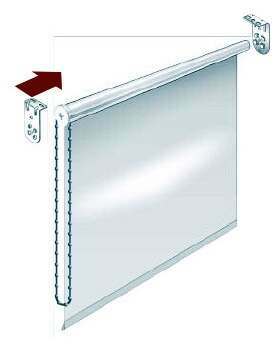
2. Press the brackets into the corresponding ends of the blind and offer the blind up to where you want it to be fitted. Make sure it clears any obstructions and that it has equal coverage either side of the frame or window opening.

3. Mark the outside edge of the brackets in the correct position. We recommend that a second person helps with this to mark the bracket while you hold the blind in position.

4. Take down the blind and remove the brackets from the blind and also take the plastic pin back out of the bracket.

5. Hold the brackets back in the same position and now mark the position of the actual screw holes.

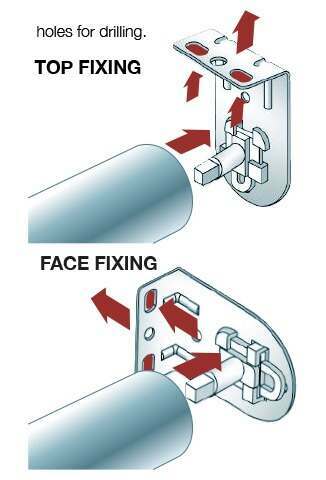
Top Fixing or Side Fixing blind brackets

6. If you are fitting the blind to a wooden window frame, you will not need to drill the holes, simply screw directly into the wooden frame. It is always easier to start the hole with a bradawl.

7. If you are fitting the brackets to the wall or lintel, then drill the holes, put in the rawlplugs, and screw the brackets into place.

8. Fit the plastic pin back into the end of the blind.

Attaching Roller blind to brackets

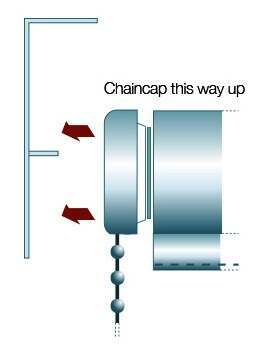
9. With the blind fabric fully-wound round the roller, fit the slot end of the blind into the corresponding bracket or if you have the chain end fitting into the same corresponding bracket.

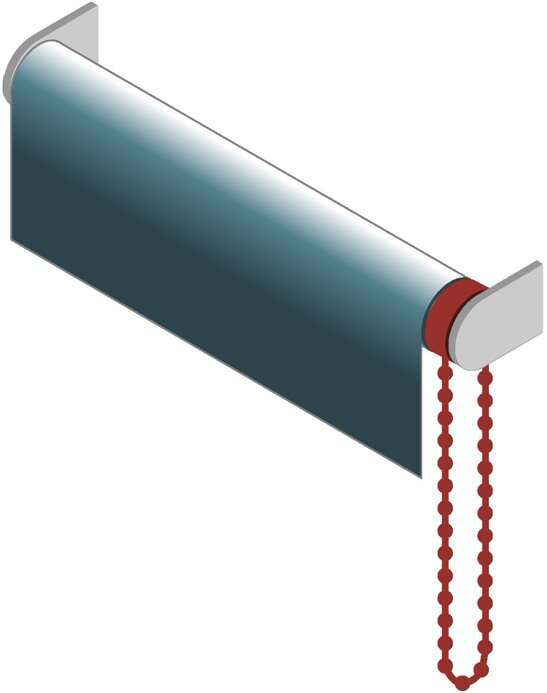
Locating the roller chain

10. Locate the other end of the blind into position, sliding the plastic pin and blind until it clicks into the secure position.

11. To reduce the risk of looped blind cords and chains, a child safety device will be included with your blind. Please ensure this device is fitted as per the instructions.

12. Check everything is working correctly.

Side Winder operated blinds

If your blind is operated by a Side Control Chain, then you raise and lower your blind by pulling the chain appropriately.

Pull cord operated blinds

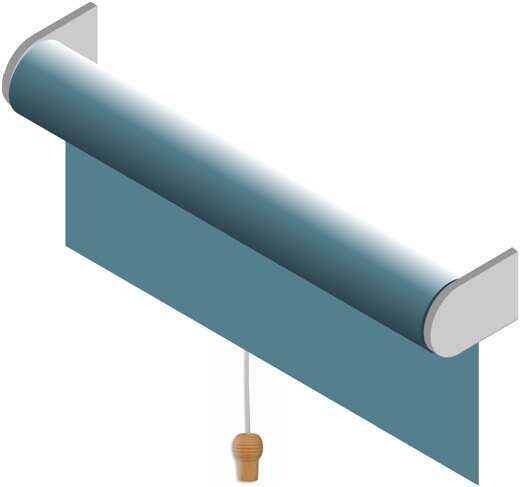
If your blind is operated by a Spring Operation and a Centre Pull Cord, then pull the cord slightly to allow the spring lock to disengage. Open or close the blind to the correct position, then hold the blind still to allow the lock to engage.

If your blind has a Spring Control and the fabric does not wind up completely or the tension is too tight when the blind is operated, then you can alter the spring tension by doing the following:

  • Pull the blind 250mm or 10” from the uppermost position and lock it off.
  • Remove the blind from the brackets and roll the material by hand back onto the roller.
  • Replace the blind back into the brackets and check for the correct tension.
  • If the blind tension is still insufficient, repeat these steps again.
  • If the tension is too great then again repeat these steps.


Caring For Your New Blind

  • 1. Do not allow moisture to settle on the blinds.
  • 2. Wipe with a clean, damp cloth only.
  • 3. Do not use any kind of detergent to clean your blind.
  • 4. Do not oil or lubricate any part of the blind.


roller blinds for bay windows